

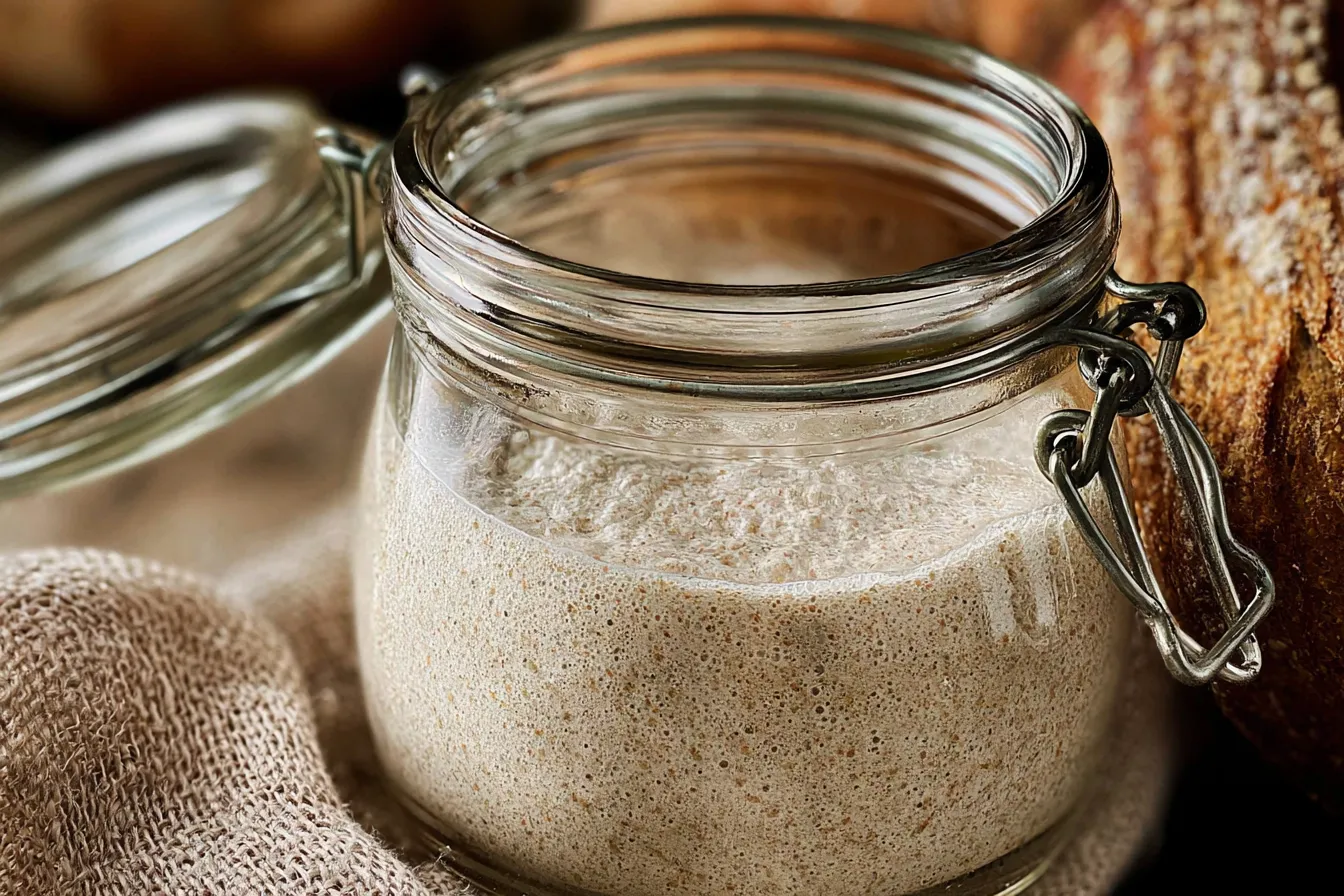
Have you ever wanted to unlock the magic of baking with a yeast culture that brings flavors and textures known for centuries? A traditional sourdough starter is the cornerstone of artisan bread, offering a unique tang and delightful crust. This natural leavening method not only enhances the taste but also contributes to better digestibility, making every bite a wholesome experience.
Moreover, cultivating your own sourdough culture connects you to the age-old artisan practices of bread-making. As you nurture this living organism, you’ll experience the joy of creating delicious, crusty loaves from scratch. Join the movement of home bakers who have rediscovered the art of working with a classic sourdough starter, and elevate your baking journey to a new level.
Overview of Sourdough Culture:
Creating a traditional sourdough starter is an age-old practice that connects bakers to a rich history of fermentation. This natural leavening agent harnesses wild yeast and bacteria from the environment. The beauty of a sourdough culture lies in its ability to develop unique flavors over time, influenced by the local climate and ingredients.
To begin, you’ll need simple ingredients: flour and water. The fermentation process typically takes about five to ten days, during which you’ll feed the starter regularly. As the mixture bubbles and rises, you’ll notice a pleasant tangy aroma, indicating that the natural yeast is thriving.
Once your traditional sourdough starter is ready, the possibilities are endless. You can use it to make delightful baked goods, like homemade apple pie. Not only does sourdough enhance flavor, but it also provides a nutritional boost, making it a favorite among health-conscious bakers. Embrace this time-honored method and enjoy the art of baking with your very own sourdough culture!
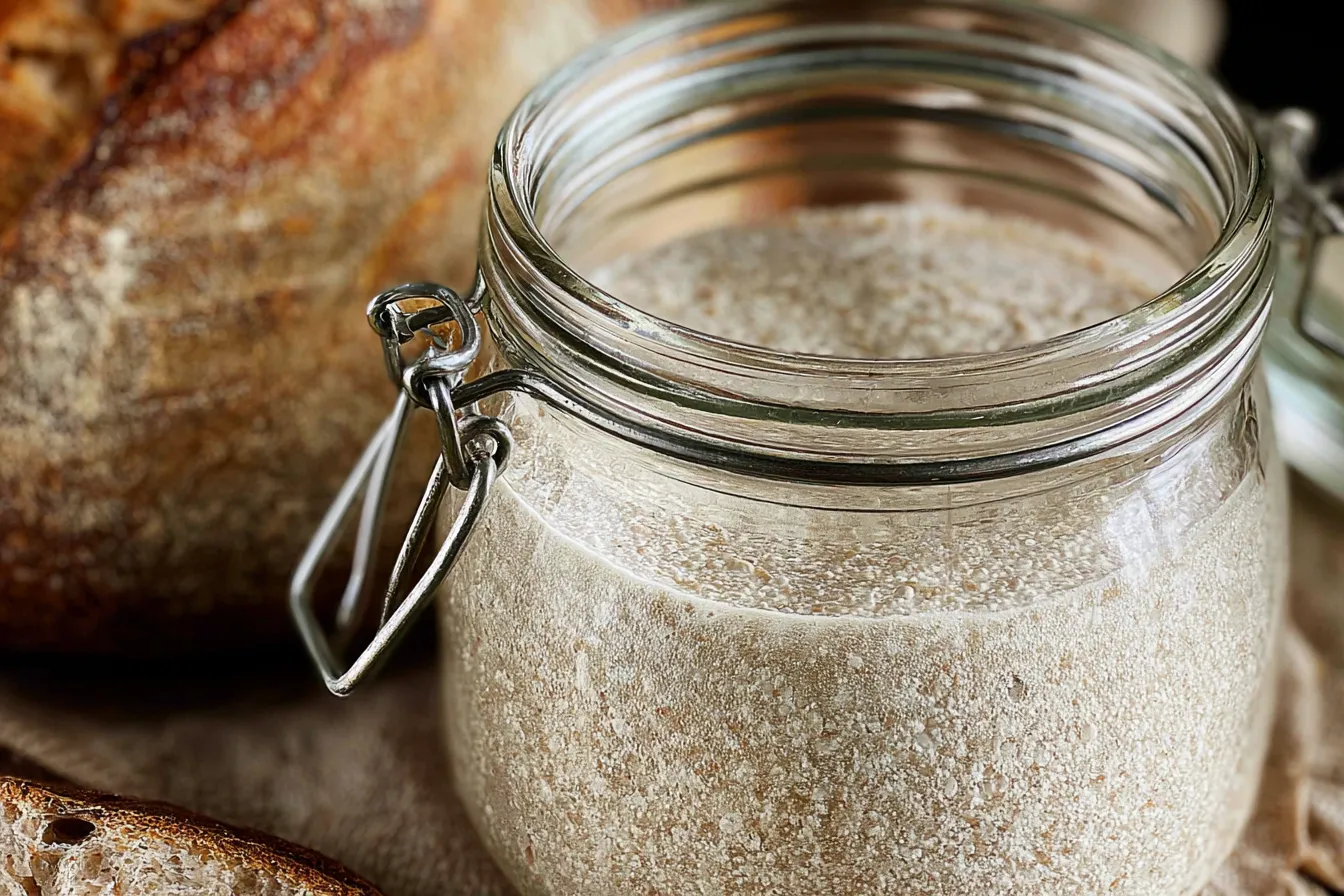
Ingredients for Traditional Sourdough Starter:
Creating your own traditional sourdough starter is an art worth mastering. You’ll need just two essential ingredients:
- Unbleached all-purpose flour: 100 grams (about ¾ cup)
- Non-chlorinated fresh water: 100 grams (approximately ½ cup)
This simple combination forms the basis for developing wild yeast and bacteria, which will play a significant role in leavening your bread. Begin by mixing equal parts of the flour and water in a medium bowl, stirring until the mixture resembles a thick paste. It’s crucial to use non-chlorinated water, as chlorine can inhibit the growth of the yeast cultures you want to cultivate.
As a fun addition, consider using your starter to enhance recipes like homemade apple pie. The natural fermentation process adds a unique depth of flavor and a delightful texture to your baked goods.
With only these components, you are on your way to crafting a flavorful traditional sourdough starter that will elevate your baking experience!
How to Prepare:
Creating a traditional sourdough starter is a rewarding endeavor that enhances your baking. Start by mixing equal parts unbleached all-purpose flour and non-chlorinated water in a clean glass jar. For example, use 1 cup of flour and 1 cup of water. Stir well until you achieve a thick, batter-like consistency. Cover the jar loosely with a clean cloth or a lid to allow air circulation while preventing contaminants.
Leave the mixture at room temperature for around 24 hours. After this period, you may observe bubbles forming, indicating that fermentation has begun. To feed your sourdough starter, add another 1 cup of flour and 1 cup of water every 24 hours, discarding half of the starter before feeding. This process can take about a week. For more detailed guidance, visit this informative source on Traditional Sourdough Starter.
As your starter matures, it will develop more complex flavors, similar to the delightful layers found in a homemade apple pie. Enjoy the journey of nurturing your starter, and soon you’ll be ready to make delicious sourdough bread!
Feeding Your Traditional Sourdough Starter:
Feeding your traditional sourdough starter is crucial for maintaining its health and vigor. To start, use equal parts of flour and water, typically a 1:1 ratio by weight. This method provides the yeast and bacteria with fresh food, allowing them to flourish. Ensure the water is at room temperature to prevent shocking the culture.
Your starter will require regular feedings, ideally every 12 to 24 hours when kept at room temperature. If you’re busy, consider refrigerating it, reducing the feedings to once a week. Always stir in the new flour and water thoroughly. This aeration helps the yeast to activate and grow effectively.
For a delicious culinary twist, you can incorporate your sourdough starter into recipes like this homemade apple pie. The slight tang of the starter will enhance the overall flavor, creating a delightful dessert. Keeping your sourdough healthy ensures that you have a vibrant culture ready for baking!
Troubleshooting Common Issues with Traditional Sourdough Starter:
Creating and maintaining a traditional sourdough starter can be rewarding but may come with its challenges. If your starter has not risen or developed bubbles, it might be weak or too cold. Ensure you are feeding it regularly, ideally every 12 hours. If you notice a layer of liquid on top, this is known as “hooch” and indicates your starter is hungry; simply stir it back in and feed it. An off-putting smell may occur; if it smells like rotten or moldy, discard it and start again.
Conversely, if you’re looking for delicious ways to use your sourdough starter, consider making a warm and hearty homemade apple pie you can find here. Remember, consistency is vital. Adjust feeding ratios or temperature as required, and with time, you’ll achieve a robust traditional sourdough starter ready for baking.
Storage Tips for Traditional Sourdough Starter:
To keep your traditional sourdough starter thriving, store it in the refrigerator if you’re not baking often. This prolongs its life and reduces the need for frequent feedings. When ready to use, bring it to room temperature, and feed it to revitalize. Consider trying it in delightful recipes like homemade apple pie for a unique twist!
Frequently Asked Questions (FAQs):
What is a Traditional Sourdough Starter?
A Traditional Sourdough Starter is a mixture of flour and water, cultivated with wild yeasts and bacteria from the environment. This natural fermentation process creates a tangy and flavorful base for bread-making.
How do I maintain my sourdough starter?
To maintain your starter, regularly feed it with equal parts of flour and water and keep it at room temperature. This ensures that the wild yeasts remain active and healthy.
Can I use whole grain flour for my starter?
Yes, using whole grain flour, like whole wheat or rye, can boost activity due to their higher nutrient content. This can be especially helpful when establishing a new starter.
How long does it take to create a sourdough starter?
Typically, it takes about 5 to 10 days to establish a robust Traditional Sourdough Starter. Be patient and consistent with feedings during this period.
What can I make with my sourdough starter?
Your Traditional Sourdough Starter can be used to create various baked goods, including loaf bread, pancakes, and even delicious carrot muffins. The flavor it brings to these recipes is unparalleled.
Can I store my sourdough starter in the fridge?
Absolutely! Storing your starter in the fridge slows fermentation, allowing you to feed it weekly rather than daily. Just remember to bring it back to room temperature and feed it before use in recipes.
For further delightful recipes, you might enjoy Homemade Apple Pie for a sweet treat alongside your freshly baked sourdough bread.
Print
Traditional Sourdough Starter
- Total Time: 5–10 days
- Yield: About 300 g active sourdough starter after feeding
- Diet: Vegetarian
Description
Create your own Traditional Sourdough Starter with just two simple ingredients! This sourdough starter will be the foundation for your favorite bread recipes, giving them depth and flavor.
Ingredients
- Unbleached all-purpose flour
- Water and preferably non-chlorinated fresh water
Instructions
- In a clean glass jar, combine 1 cup of unbleached all-purpose flour with 1/2 cup of non-chlorinated water.
- Stir the mixture until it forms a thick paste, then cover the jar loosely with a lid or cloth.
- Let the mixture sit at room temperature for 24 hours.
- Each day, feed the starter by discarding half of the mixture and adding 1/2 cup of flour and 1/4 cup of water, mixing well.
- After 5-7 days of feeding, your sourdough starter should be bubbly and ready to use!
Notes
Make sure to use non-chlorinated water for optimal fermentation. Store your starter in the refrigerator if you’re not using it daily.
- Prep Time: 10 minutes
- Cook Time: 0 minutes
- Category: Bread, Baking Basics, Starter
- Method: Fermentation
- Cuisine: American
Nutrition
- Serving Size: 50 g starter
- Calories: 170 kcal
- Sugar: 0 g
- Sodium: 2 mg
- Fat: 1 g
- Saturated Fat: 0.2 g
- Unsaturated Fat: 0.8 g
- Trans Fat: 0 g
- Carbohydrates: 36 g
- Fiber: 2 g
- Protein: 6 g
- Cholesterol: 0 mg
Keywords: Traditional Sourdough Starter,Sourdough,Starter Recipe,Baking,American cuisine